
Do you have some ribbon leftover from another project that coordinates quite well together?
I recently purchased a velvet dress from a thrift store that was about 5x too big for me. The plan has always been to re-work it into something form-fitted with new creative, upcycled detail.
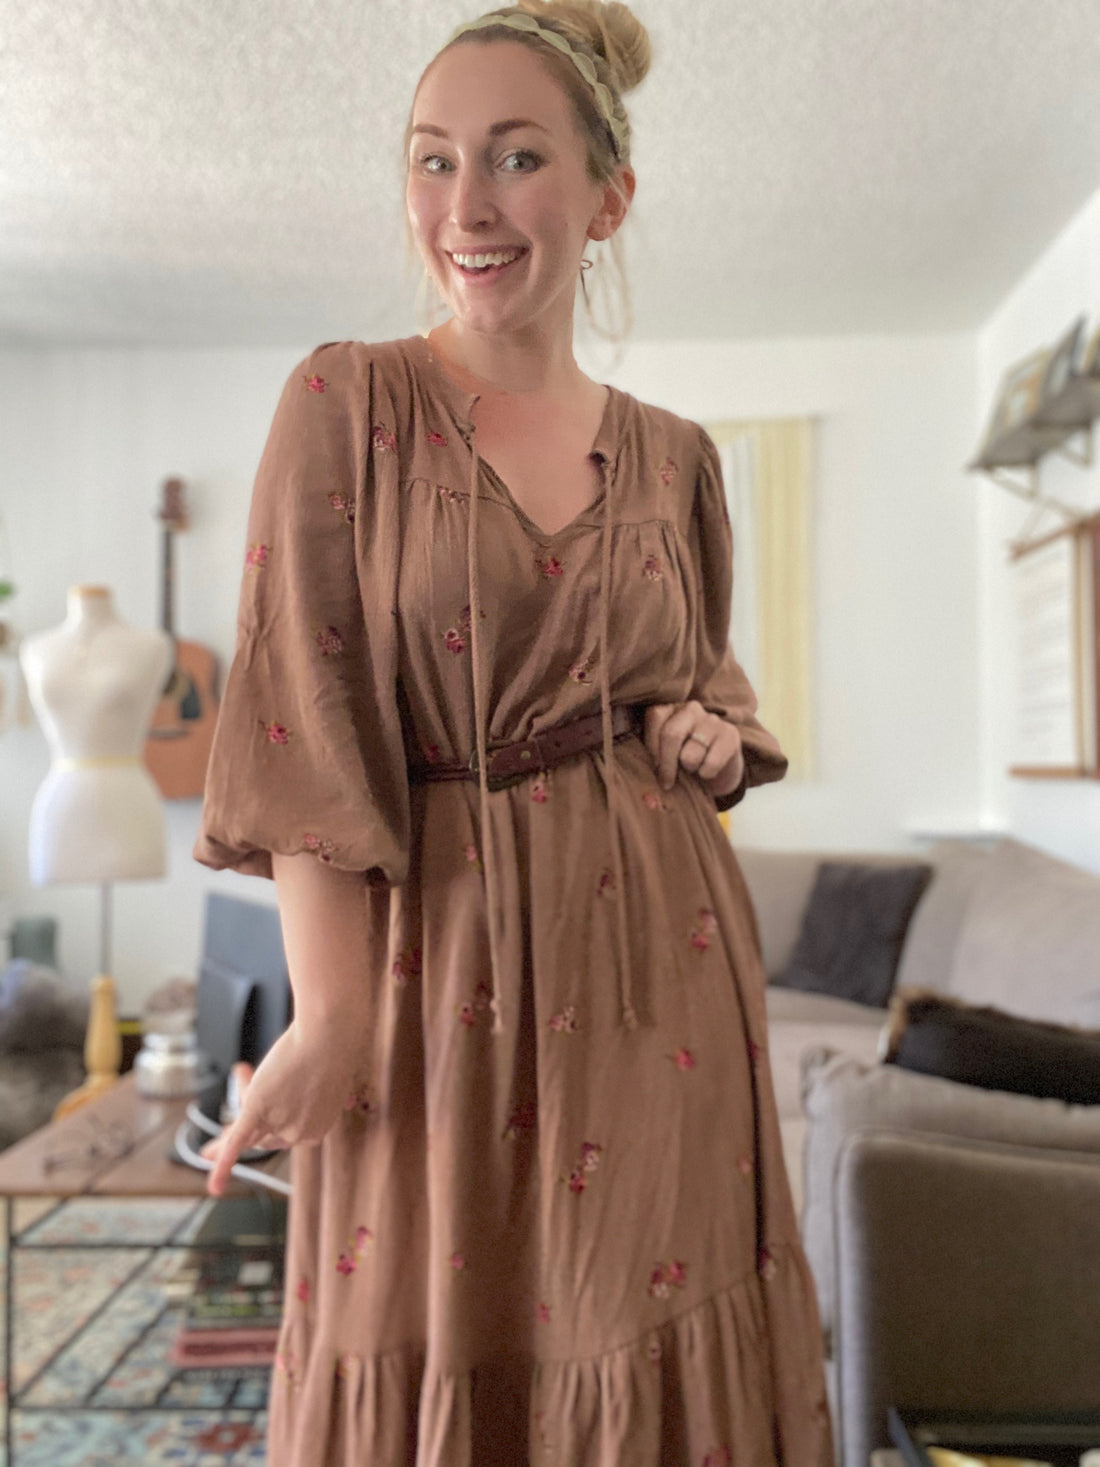
Though I haven't quite gotten to that project, a few pieces of the ribbon I purchased for it won't go well with my velvet dress, so I decided to create a headband out of them.

If you're going to join me in this endeavor, I encourage you to make sure your base ribbon is something that won't untie easily. The base ribbon I used is velvet and it stays tied for most of the day without needing to be adjusted. the decorative ribbon won't matter as much, but the base needs to be pretty sturdy.
For this project, you'll need the 2 pieces of ribbon, a sewing machine (or you can sew it by hand!), coordinating thread, and some pins. I'm always looking for an excuse to use my pretty singer sewing machine, so I used that rather than sewing my hand.

1. Make sure your base ribbon is about 2x the size of your head.
2. Cut the decorative ribbon to measure from the base of one ear, around the top of your head to the base of your other ear.
3. Place the decorative ribbon centered on top of the base and pin it down.
4. Get out your sewing machine and make sure the stitching is spaced out. Stitching it too tight will make the headband twist.
5. Sew along the center of the decorative ribbon.
6. Trim the thread and voila!

Enjoy :)
Tag me in your images so I can see your project!

XO,
Haley